Grok Build
Terminal-native agentic coding CLI from xAI. Beta launched May 2026. Powered by Grok 4.5.
$ grok-build> Describe what you want to build$ a dashboard that tracks my API spend Plan: 4 steps · Search: 12 files · Build: 3 branches [1/4] Scaffolding Next.js app... [2/4] Adding spend chart component... [3/4] Ranking candidate solutions... Done. Review 8 diffs to approve.Illustrative session, styled mockup
What can you build with Grok Build?
How does Grok Build work?
Get started
Have SuperGrok or an xAI API key
Build is included with the standard SuperGrok plan
Install Grok Build CLI
Run the install command for your OS
Open your project folder
Navigate to the repo in your terminal
Run grok-build
Describe your task in natural language
Review and approve
Check the plan, review diffs, accept changes
macOS and Linux installers are on the same page. Commands differ per system, check grok.com for your OS.
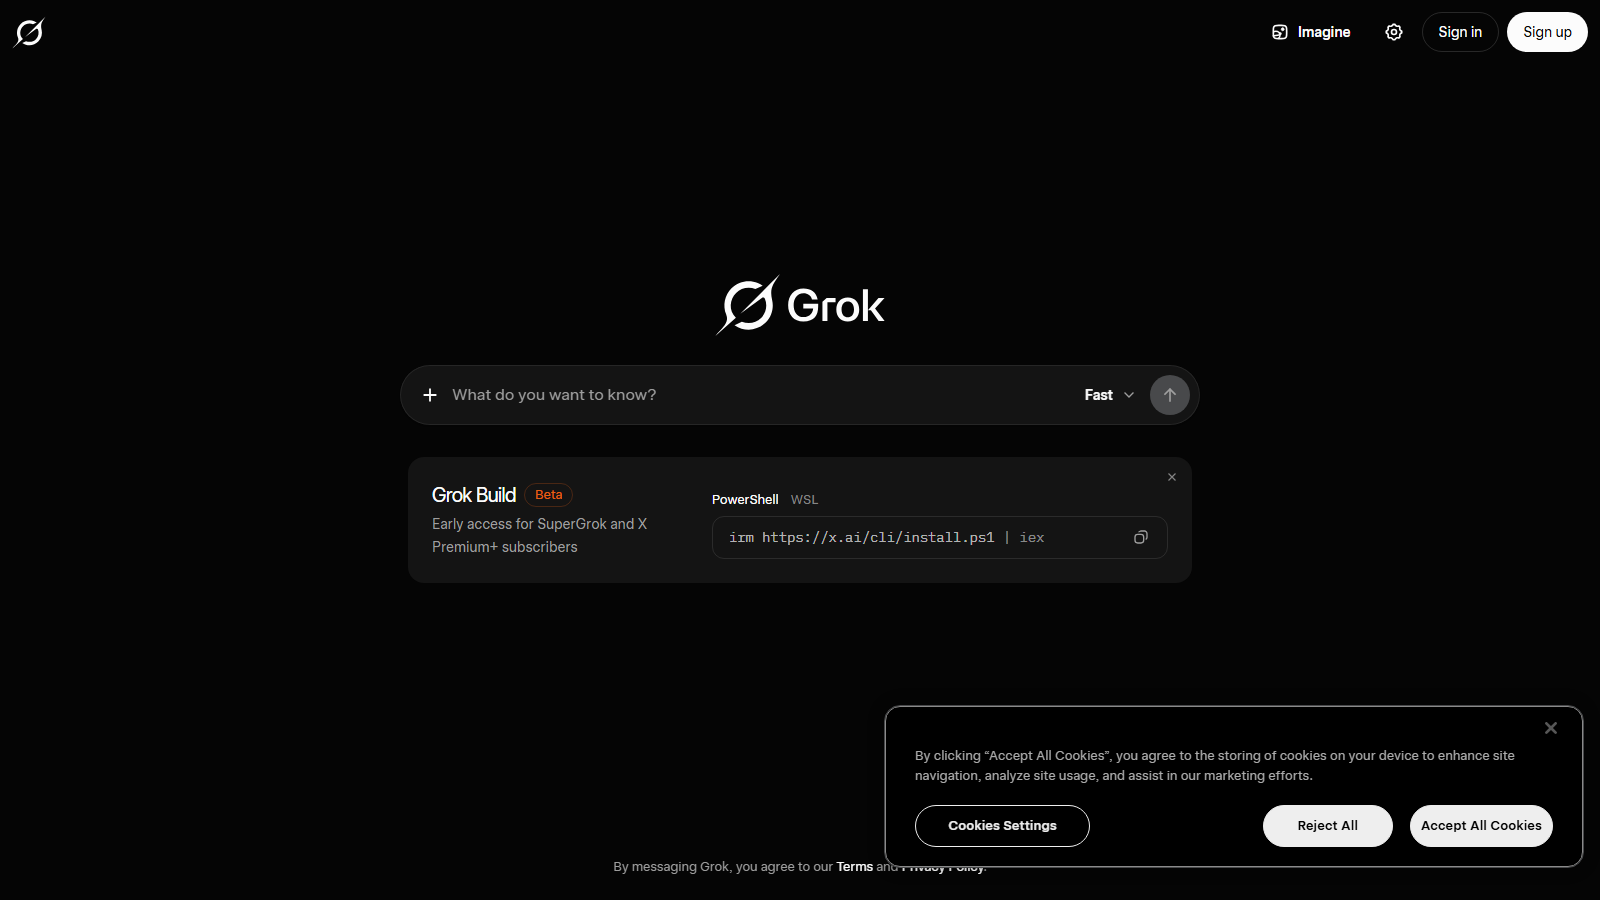
How to set up Grok Build in VS Code
Install the Grok Build CLI first
The extension wraps the CLI, so it must exist on your machine
Search the Marketplace
Extensions panel, search "grok-build-vscode" (community extension, not official xAI)
Install and reload
Ensure the CLI is on PATH so the extension can find it
Open the sidebar
Describe what you want to build from the Grok Build panel
CLI vs API
Related: read our field test in Grok Build and coding agents: how to test it properly, or see how it compares in Grok vs Codex.
Frequently asked questions
Not sure which Grok plan fits?
Answer four quick questions and get a plan recommendation. No sign-up needed.
supergrok.info is an independent guide and resource site. It is not xAI, Grok, X, or an official login, billing, API, app, or support channel. For passwords, subscriptions, API keys, billing, app downloads, account access, incidents and support, use official xAI and Grok links. Grok and xAI are trademarks of their respective owners. This site uses those names only to describe and reference the product.